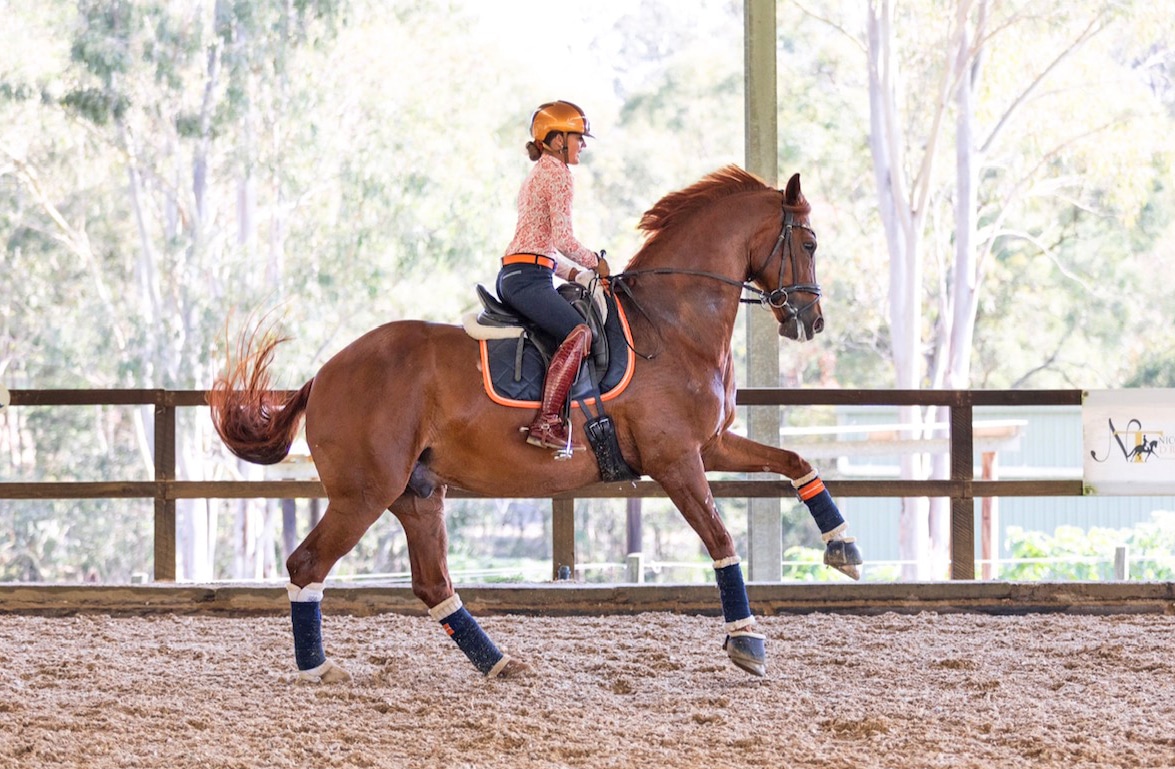
Training for the flying change
In the first of her two-part article, NICOLE TOUGH explains how to train for the flying change.
Mastering the flying change can be a challenge no matter how many horses we’ve trained, and even more so if we’re new to it ourselves. Introduced at medium level, it can be the reason combinations remain in elementary level dressage for a long time or forever. From the non-existent to the confirmed flying change takes anywhere from 6-18 months, depending on the horse, and how much help you have.
In my experience, there are generally four stages leading to an established change, on our aid, and on our line: Attempt; Clean; Change Happy; Confirm.
But when is our horse ready to start flying change training? Elementary work underpins the development of our horse’s balance, throughness and straightness. In particular, the simple changes are crucial for setting ourselves up for a positive flying change experience. The canter-walk transitions should be balanced and collected, with the horse able to shorten the steps of canter to the speed of walk, lowering the haunches, becoming more uphill, thus making the lightest transition to walk like a feather landing on the ground.
The transition from walk to canter, requires our utmost attention as this will, in effect, be our flying change aid. If the horse is slow to our aid or stiffens against the hand, we are likely to experience the same thing when we ask for the flying change. The horse must absolutely be on the canter-depart aid, with our outside rein steady and feeling the connection through it in the canter depart. We should also pay attention to any straightness issues, as any misalignments will show up in the change.
If we have these pre-requisites, we are less likely to bring unnecessary tension to learning the changes, disturb any of our previous training, or lose quality in the canter.
At any stage, we must reserve the right to change our mind and turn off the line if we need to. The more our prerequisites are in order, the better chance we have of making this a smooth process.
Next – know the theory. Practice without the theoretical knowledge is like trying to steer a rudderless ship! Riders should know the footfalls of canter and the right moment to apply the aid for our horse to make a flying change. If we don’t know this moment, we are praying for a fluke and setting our horse up to fail, causing confusion and distress in the process. The mechanics of the canter right are;
- First beat – outside hind (left)
- Second beat – diagonal pair (right hind/left fore)
- Third beat – the leading fore (right)
- These 3 beats are then followed by the moment of suspension (and vice versa for left lead canter)
We give the flying change aid on the third beat of canter and the horse changes in the next moment of suspension, landing in the new canter.
To organise your mind and ensure clarity of your aids, I recommend this ‘simulation’ exercise before trying your first flying change:
- On the right rein, from the long side, at S ride a half 10 metre circle right returning to the track at V in walk but imagining you’re in right canter. Aim to be in right position, with right leg at the girth and the left leg back.
- On the returning line to V and remaining in position right, prepare the horse for left lead canter. Do this by applying pressure with the left leg back, effectively making a hollow through the left rib cage and pushing the horse onto the new outside rein (right). You should remain in right position, and stay committed to holding the new outside rein and therefore holding the new outside front leg to the right.
- When you have achieved this feeling, switch the legs along the horse’s sides, to left lead canter, holding the new outside rein (right), and actually strike off on the left lead, remaining on the returning line to V, before continuing down the long side in left lead canter.
Repeat as many times as needed to gain clarification and only attempt from canter when the goals are clear to both you and your horse, and the horse strikes off on the new canter lead without hesitation.

Stage 1 Attempt
The goal in the first stage is to get from one lead to the other whilst in canter, in which the change may be offered in two parts (i.e. hind legs change before or after the front legs). Coaches have a variety of exercises for this stage, but I prefer using the exact same line as the simulation explained above. And note, always do both sides and when/if we get the change, even if it’s offered in two parts, return to walk and reward the horse.
If no part of the change is offered, don’t ask twice. Instead, quickly make a transition to walk, and strike off on the new canter lead. Try this a few times. The idea is to show your horse they already know how strike off on the canter lead. Now it’s time to figure out how to do it in canter. Don’t make a big deal about it. If they don’t get it, try again the next day, and the next and so on.
Two important tips:
- Try not to throw yourself and therefore your horse onto the new lead. Our horse needs us to remain in position and as still as possible.
- If the horse becomes tense, crooked, loses quality in the canter, or goes into auto-pilot mode, turn off the line and restore quality of pace and harmony.z
In our June issue, we will cover the next three stages of the flying change: Clean; Change Happy; and Confirm.
For more information on lessons or a clinic with Nicole, visit Nicole Tough.